
The other week, I wrote a post about family recipes and how I was going through my pile of them in an attempt to get organized. You can read all about that, and the deep thoughts I had along the way, here. But then I never actually told you how I got organized, so I’m going to do that today. There’s no better feeling than turning something that was a disorganized, hard-to-use mess into something neat and tidy and, best of all, useful. If you’re like me and have a bunch of old recipes tucked away everywhere that never see the light of day, follow along and get them organized today!
It only took me about an hour to totally revamp my recipe filing system (or non-system) and create my handy dandy new Recipe Binder. I tried to make it as simple as possible so that I would actually get it done in one sitting. I have a tendency to want every project to be PERFECT, so I start it, get overwhelmed, and give up halfway through. This project is not like that, I promise.
What You Need
You may decide that some of these supplies are unnecessary for your binder, but this is a list of what I used. Feel free (encouraged, even) to simplify this project even further and try to make do with supplies you already have on hand.
- A binder. Preferably 3 inches or bigger (based on how many recipes you end up keeping).
- Some blank paper, OR our printables (more on these below), OR your own printables. These are for making the cover and the section dividers.
- Sheet protectors. Ideally, one protector per every two recipes (one recipe facing the front of the protector; one facing the back). OR…
- If you don’t have or don’t like sheet protectors, you can use a 3-hole punch to make your recipes binder-friendly.
- Tab dividers. These tend to get lost in the binder if you use sheet protectors, because they don’t stick out far enough. If that bothers you, you can buy or make ones that stick onto the sheet protector itself.
Step One: Find Your Recipes
Go to all the places you keep recipes (even on your computer) and gather your recipes. You may need to print some off or rewrite some that are really stained. If doing that sounds like too much of a pain, skip it and just use the recipes you find that are already in hard copy. I have plenty of stained ones in my binder, and I like to think that it adds character (and proof that I do actually bake once in a while). Pile up all the recipes on your kitchen table.
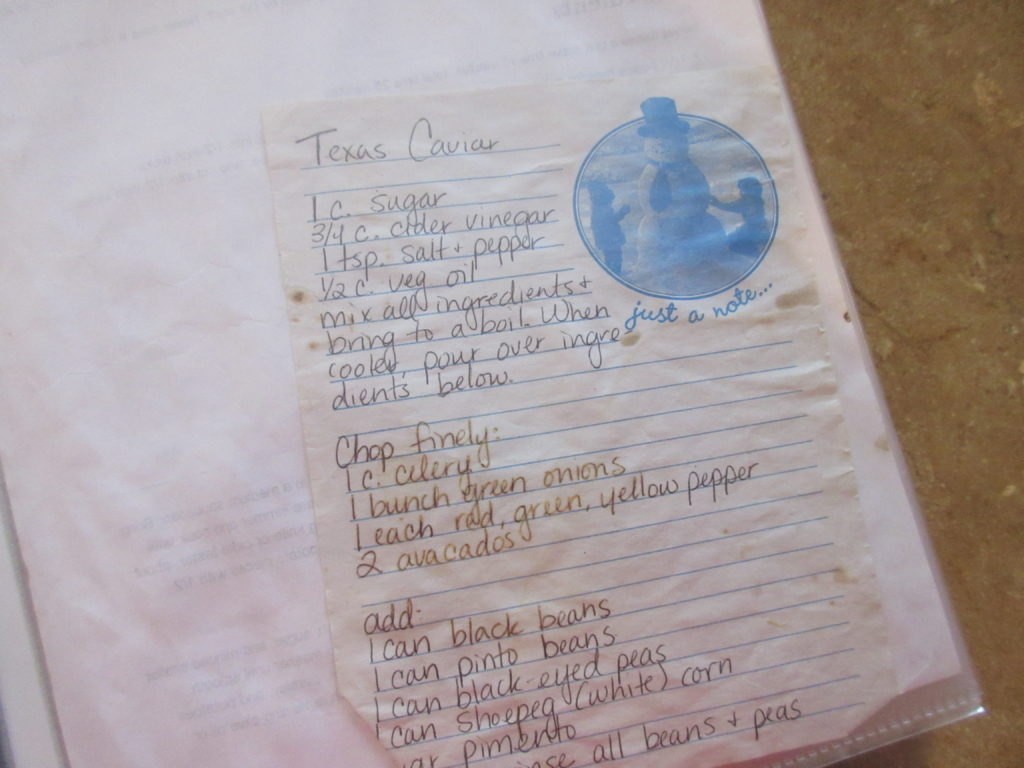
(That’s my Texas caviar recipe. Complete with spelling errors and olive oil spills.)
Step Two: Sort and Discard
Now, you’re going to make two decisions on each recipe:
- Do I want to keep this?
- What category does this belong in?
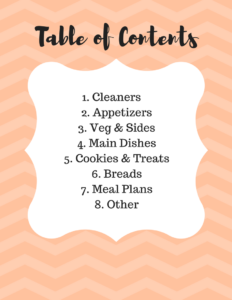
Don’t think for more than 10 seconds about either question. When in doubt, just save it. You can always get rid of it later For categories, feel free to make up your own, or use mine:
- Cleaners
- Appetizers
- Veg & Sides
- Main Dishes
- Cookies & Treats
- Breads
- Meal Plans
- Other
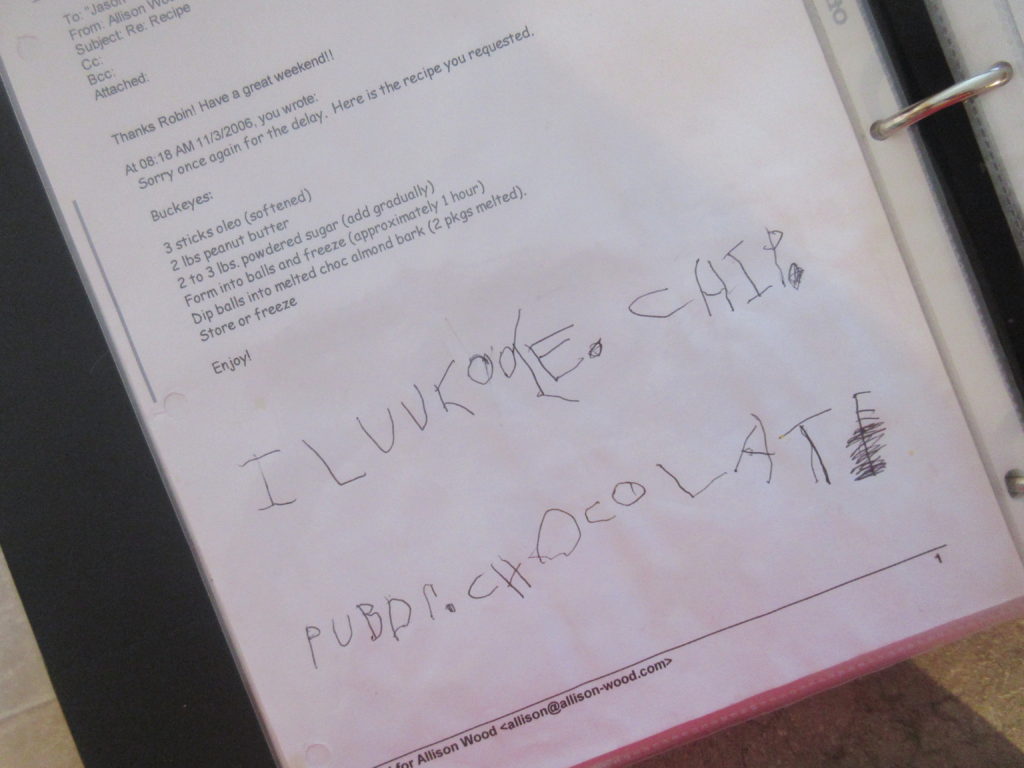
(That’s Isaac – now 17!! – telling me he likes chocolate chips, cookies, and peanut butter. Obviously, this recipe made the cut.)
Get the Printables
I have links to the black and white version of each of the printables I used for my binder below, as well as within each step as you need them. If you want the pretty colorful version of the recipe binder printables, all you have to do is subscribe to our newsletter. You’ll get immediate access to our subscriber freebie page, where you can also download our monthly budget worksheet, living on one income workbook, family mission statement workbook, and planner pages. If not, that’s okay! Just grab some paper and a pen!
Step Three: Create Your Recipe Indexes
For each category, you will now create an index or table of contents. DO NOT feel like your recipes need to be in any particular order within the category. If the idea of arranging them in a certain order appeals to you, go for it. I just left mine in the order they ended up in after doing my sorting and discarding. Keep in mind that if you arrange your recipes in a certain order within each category, you’ll either have to rewrite your index each time you add a recipe, or the order you’ve imposed will not apply to any new recipes that you add (because they’ll just get added to the end of the category).
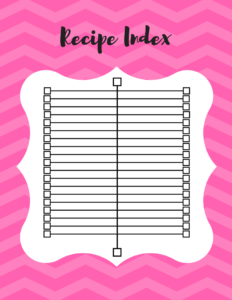
You can use our Recipe Index for this, or you can create your own, or you can just take out a blank sheet of paper and start writing. List the name of each recipe, in order, leaving some room for additions at the end. As you add recipes to your binder, you’ll just add them to the end of the section for their category and write the name of the recipe at the end of your list.
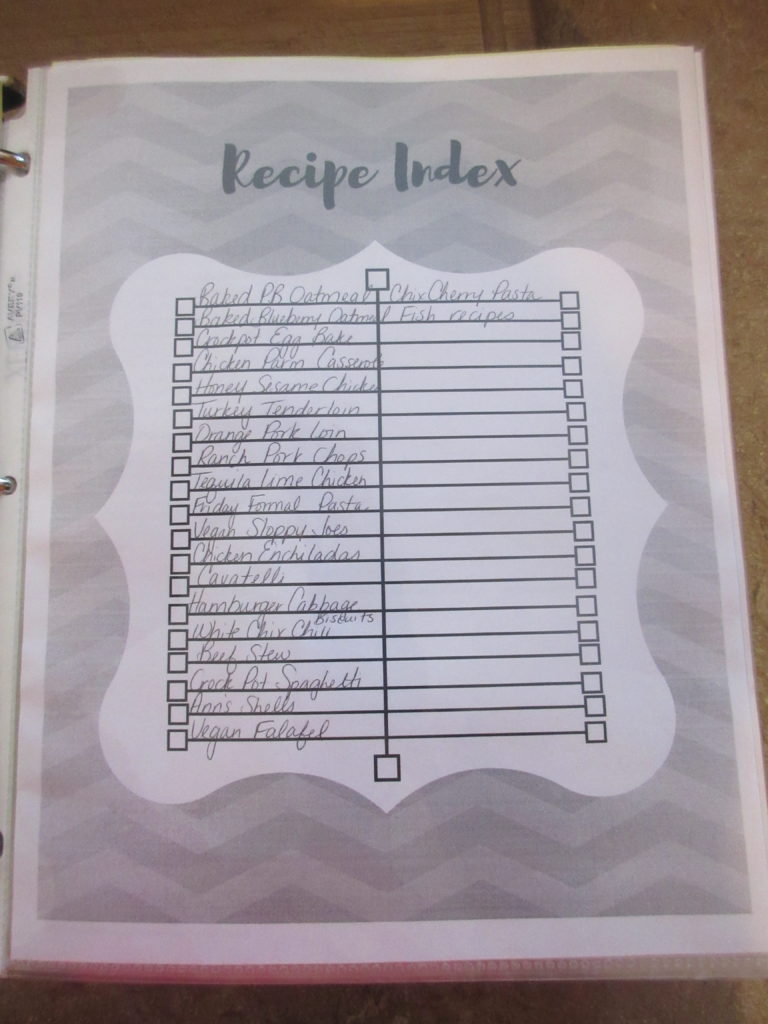
(My “Main Dish”) index. It’s about half as long as my “Cookies and Treats” section…)
Step Four: Assemble Your Binder
By now, you should have several piles of recipes with an index/table of contents for each pile. Now comes the fun part: putting it all together.
- At this point, if you haven’t put them in sheet protectors or hole punched them, you should do that.
- Next, start putting your recipes into the binder, adding your recipe index (and tab divider, if you’re using them) at the beginning of each section. Put them in an order that makes sense to you, or use my order (above, in Step Two).
- I added some empty sheet protectors at the end of each section, so I can quickly and easily add new recipes.
- Then, stick your table of contents at the beginning of the whole thing.
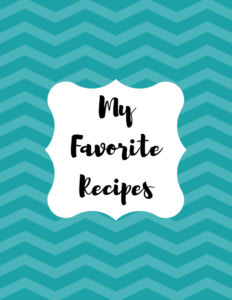
- Slide your Recipe Binder Cover into the front of your binder, or if your binder doesn’t have a pocket on the front for a cover, just write on it with permanent marker, or use a label-maker, or stickers/sticker paper, or – in a pinch – I’ve even used a piece of duct tape or masking tape and written on that.
I tried to make a label for the spine of my binder, but the pocket on the spine is so tight that I can’t get the label into it. I’m assuming that if I used heavier paper (like cardstock), it would work, but I haven’t gotten around to that yet.
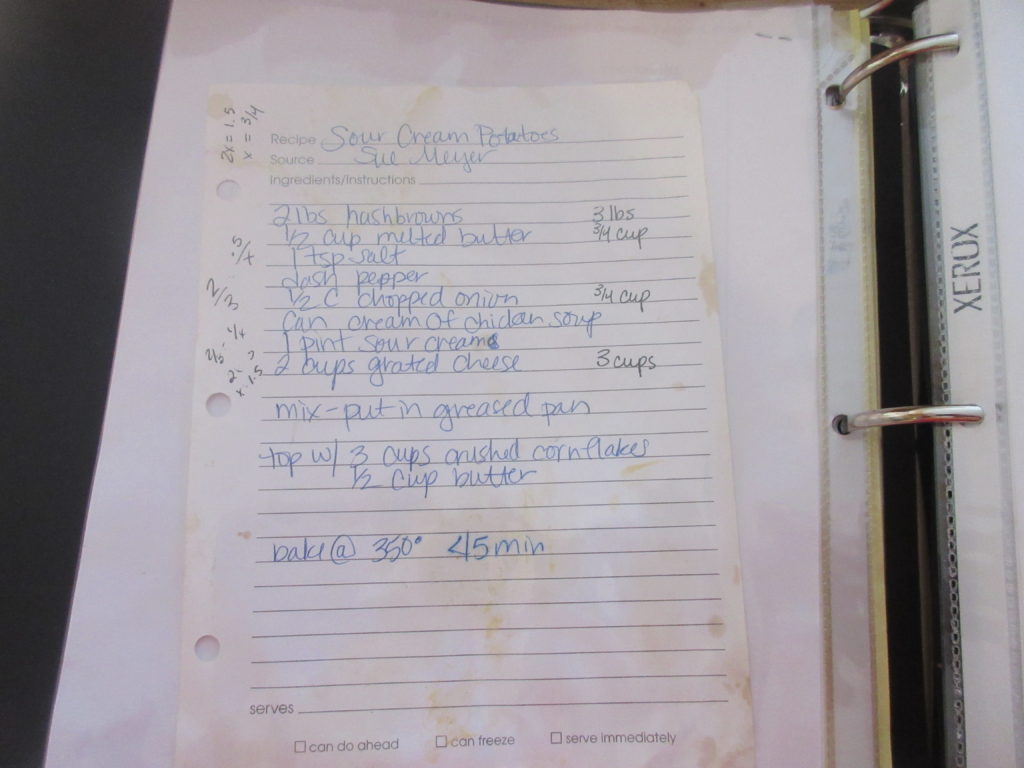
(I saved this one because Em wrote it, and because of my amusing attempt to increase the recipe from 2 lbs. to 3 lbs. See, kids? Grown-ups use fractions. Or, they would, if they could remember how.)
Step Five: Use Your Binder
I truly have found it much easier to use my recipes since I organized them. I keep the binder with my other cookbooks in my kitchen, and now that I can actually find what I’m looking for, I pull it out quite a bit. This was a project that I had been thinking about and putting off forever – for years! When I finally got it done, I actually felt better – physically and emotionally – about being in my kitchen. Heck, about the whole house, and about my competence as a household manager. Now, I’m treating these cherished recipes with respect and care, and I can stop feeling guilty and embarrassed about them. Disorganization and clutter in your physical space doesn’t just make you physically uncomfortable, it can wear you down emotionally too. Tackling just one little bit of it can make a big difference, and it can give you the motivation to move on to other, seemingly more important projects. As a stay-at-home mom, you need to make your home a place that you actually enjoy, so little projects like this can become a big deal.
The next time you pull out a favorite family recipe, call the kids into the kitchen and tell them a little bit about where the recipe came from and why you enjoy it. Share some memories of eating it as a child, or of eating it with them when they were younger (kids LOVE stories about when they were younger). Be excited about sharing your cooking with them, and they’re more likely to be excited about eating it.
Step Six: Craftify Your Binder
If you want to take this project to the next level (which, frankly, I might never do, but as a crafty person can definitely appreciate), here are some ideas:
- Retype/print your recipes using pretty fonts, borders, and illustrations
- Hand-write your cover and index pages using fancy hand-lettering
- Have your kids help you decorate the binder cover & pages
- As you make the recipes, add comments/quotes from your family about the recipe (“John’s favorite winter comfort food”)
- Take a picture of your family making/eating the recipe and attach it to the page
Do you have a system for organizing your recipes? Did you try this one? Let us know what works for you in the comments below!

Comments are closed.